
We have introduced our new Light Rain Design removable wallpaper as a part of our Patterns Collection for fall. We hope you enjoy it and will check out all the colorways via this link.

Here’s the creative inspiration behind the design. We wanted to add more patterns and saw a solution hanging in our back yard. Popular outdoor party lights became the inspiration so you can now bring your party lights indoors.
Now, here’s how our new Light Rain design was created.
First, an original illustration was drawn by Ashley Spencer, the creative director and artist behind many of the Casart Coverings removable wallpaper designs. The method was a traditional pencil and paper sketch with straight lines drawn with a t-square.
The image was scanned at 1200 dpi high resolution so it has the flexibility of being enlarged or reduced for printing. But there are many steps before printing is done.
Once the image was scanned, the rest of the creation takes place digitally.
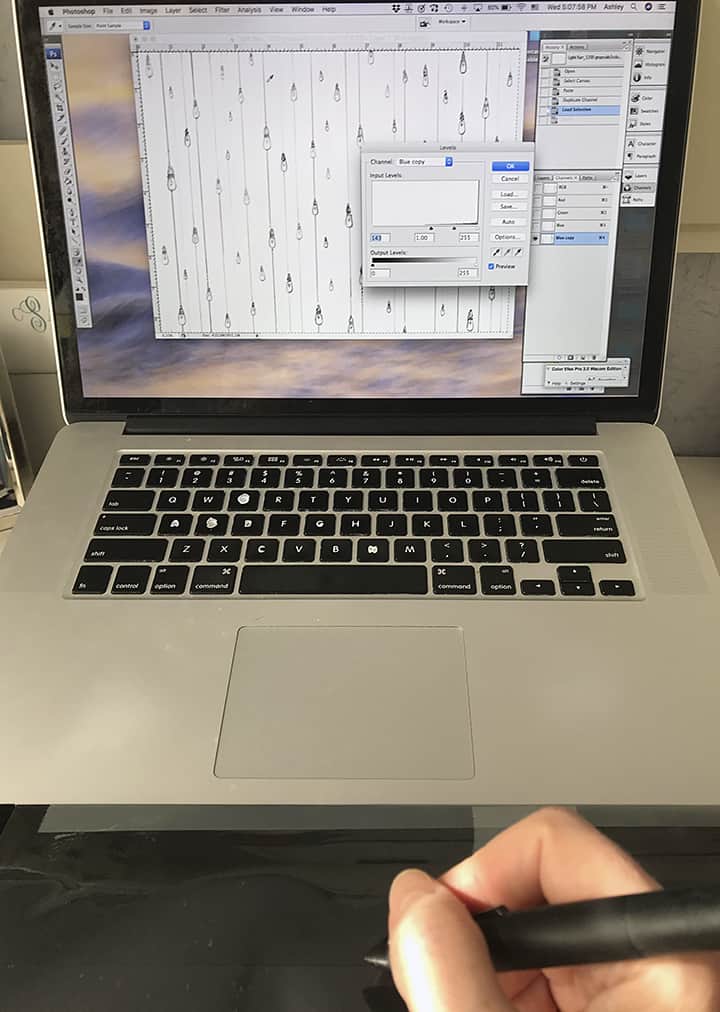
Levels were adjusted so that the lines could be selected separately from the lights.


The entire image had to be reviewed for removing dust particles and any part of the design that wasn’t going to be printed. This always takes a while and should have at least 3 full-document passes because adjustments can be easily overlooked.

Once the image is “cleaned,” it was decided the lights should have a more uniform look but in various sizes and “strengths” to give the illusion of perspective and be faithful to the original illustration and concept. All lights were then manually erased on a copy layer.

A single light was drawn digitally using the original sketch as reference to maintain the retro shape of the light. This digital drawing became the stamp that was then used in three different layers to replace the location of the original lights where they had been removed.

The size and strength of the light-stamp was adjusted for each particular layer. For instance, lights that appear the smallest are mostly 60% less strength of the original black color. Medium size lights are 30% less strength. Once new light layers were created, we had a “working cell.” The image was offset to determine that it could repeat up and down and side to side. Any non-aligning images had to be adjusted. Even with best efforts to draw the lines straight, when they “wrapped around” within the print cell, they did not match up as expected and had to be manually revised to align.

Once all this tedious and necessary work was completed and the design repeated perfectly, with the result you see here, the background and light colors were selected.


Here’s a quick video showing the entire process — except for how long it actually took, however. 😉


Leave a Reply